Once you have a store setup in SalesWarp, you can manage the individual stores preferences by going to Stores -> Stores and clicking on "edit" on the storefronts row.

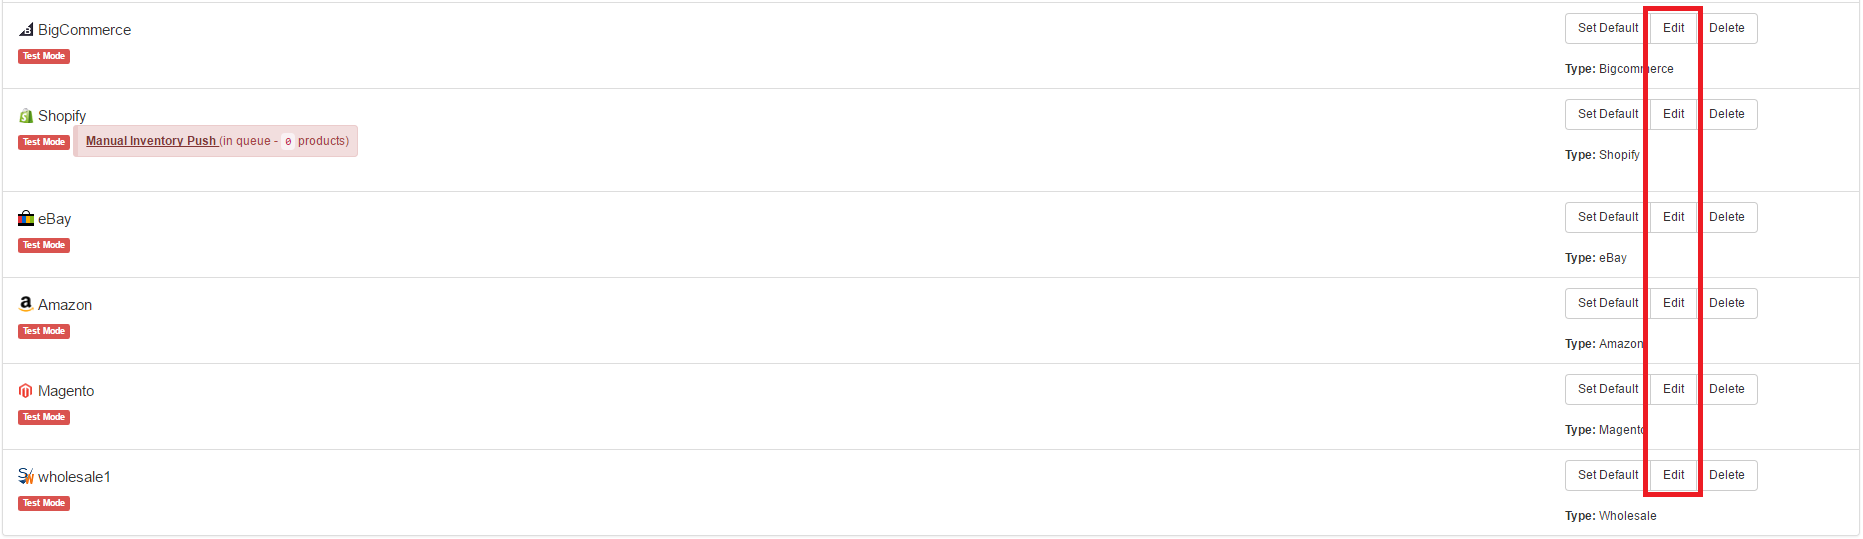
Once you press edit on a storefront, you will be taken to the store edit page.
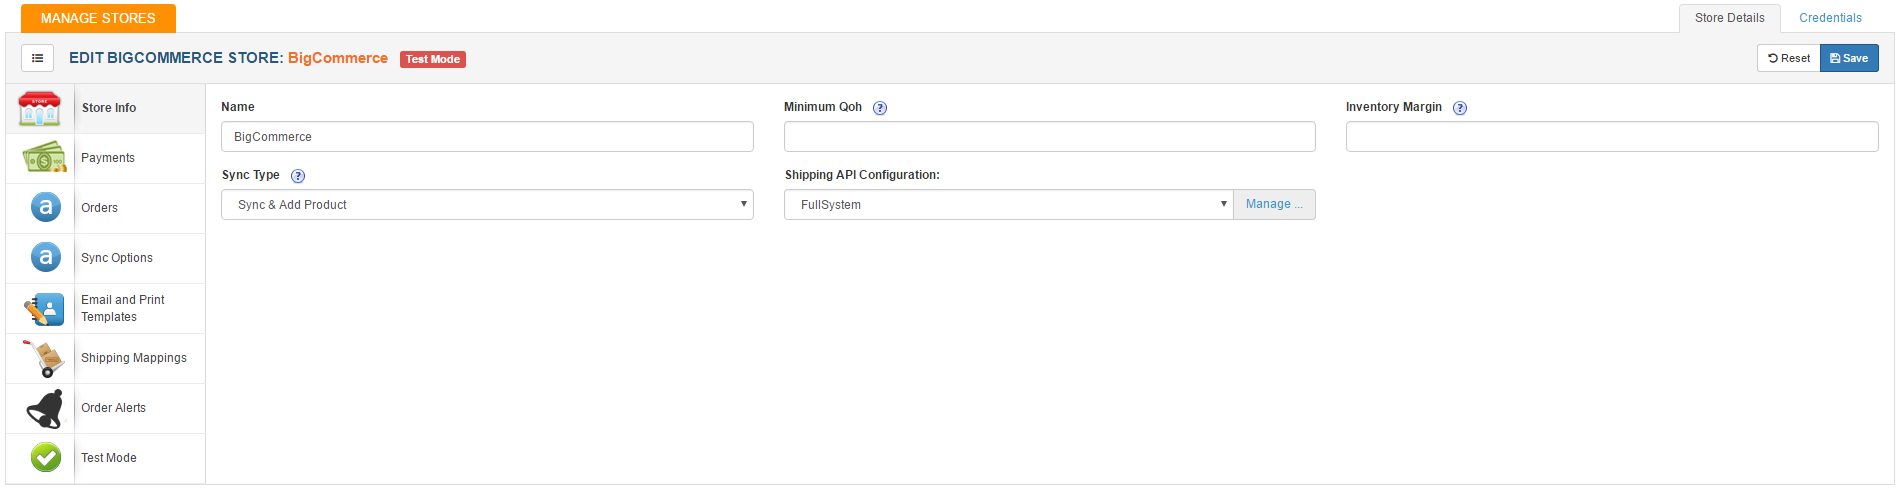
Here you can edit any details about your store in SalesWarp. You can even edit the credentials for your storefront if need be.
|
Store Info |
•Name: The name you want your store to show up as in SalesWarp •Minimum Qoh: The minimum number of units of each product that must be available for the product to be in stock for this store •Inventory Margin: The amount of inventory to keep in stock no matter instead of assigning to orders. Once this threshold is reached, any orders placed on this storefront will be assigned to a purchase order. •Sync Type: Sync & Add Product will look for products in your storefront and sync products with matching SKU's in SalesWarp, as well as create new SKU's in SalesWarp for any SKU's in your storefront that dont match existing SKU's in SalesWarp. Sync Only Product will only sync SKU's from your storefront that match SKU's in SalesWarp. •Shipping API Configuration: Choose which shipping API you would like this storefront to use. This will decide how products from this storefront are shipped. |
|
Payments |
•cash/check/money order: if you want to accept cash and/or checks/money orders as payment methods for this storefront, check the corresponding check box's. •Credit Card Processing: If you want to accept credit cards as a form of payment for this storefront, check the "credit card - Authorize.net" check box. You will need to enter in your authorize.net credentials in order to accept credit card payments. •Paypal Pro: Check this box if you want to accept Paypal as a form of payment for this storefront. You will be prompted to enter in your login info for your Paypal pro account. |
|
Orders |
•Sync Pull Orders: Should remain checked to ensure orders are synced between SalesWarp and your storefront, if you want them to keeps synced. •Tax Account: Allows you to choose the tax account in SalesWarp that will apply for this storefront. |
|
Sync Options |
•Watched Fields: Allows you to choose what product field is monitored in SalesWarp, for products on your storefront. Choosing this option by checking the"Sync Price Fields" box will keep the price of your synced products the same in SalesWarp and your storefront. The default field menu lets you choose which exact price field in SalesWarp is watched. |
|
Email and Print Templates |
•This page allows you to choose what templates you would like to use for this storefront and if you would like to use email, and return/exchange templates. |
|
Shipping Mappings |
•This page allows you to map the shipping method for the storefront to your shipping method in SalesWarp. |
|
Order Alerts |
•This section allows you to set specific order alert hours for your storefront. This is the number of hours after creation that an order with this shipping option can go without being marked as completed or canceled, before being marked with an alert status. |
|
Test Mode |
•Test mode is used if you want to test your storefront functionality, but do not want the storefront to fulfill or ship any orders yet. Ideally, you should have all check box's checked and have the "disabled" option selected under "Outgoing emails" when using test mode. |
If you have any questions or require further assistance, please feel free to contact us at support@saleswarp.zendesk.com