Click Add Store and the system will step you through entering all the required credential/integration data for each storefront you will integrate with. From the Stores menu, choose Stores -> Add New Store. If you're already on the Stores list, click the Add New Store Button.

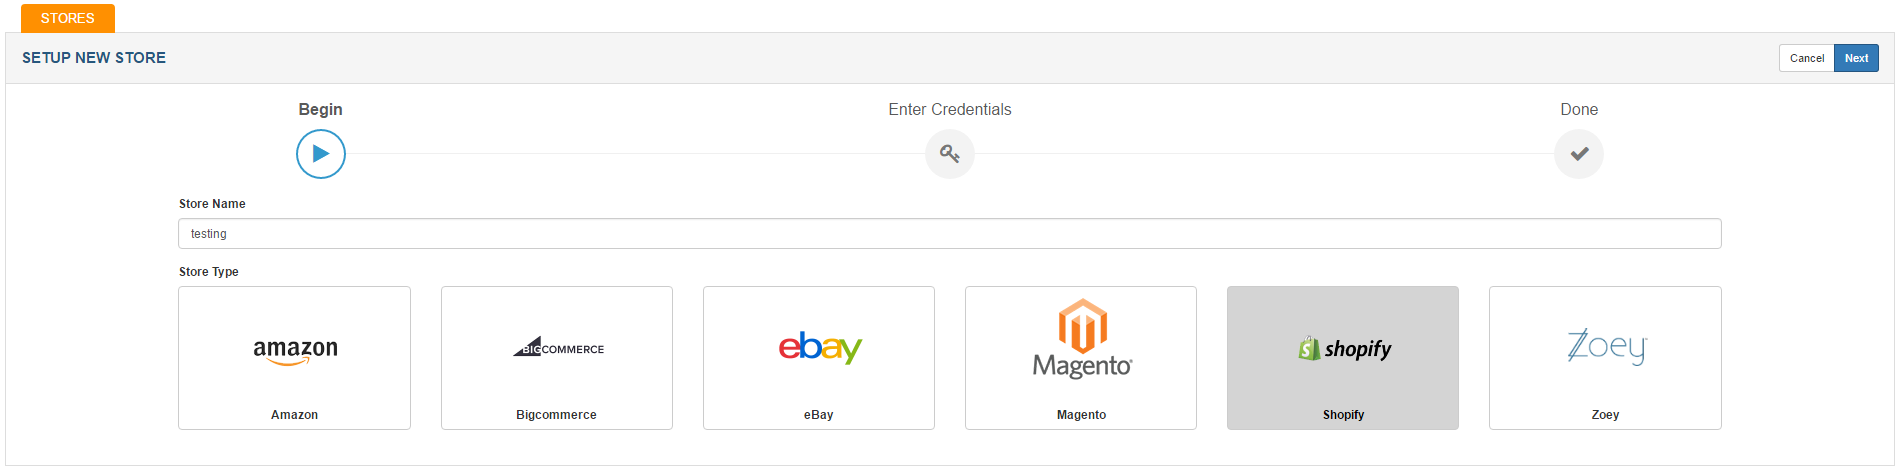
Enter a storefront name and select Shopify from the tiles, and click NEXT (located in upper right hand corner of store setup screen.)
In the box under "Shop Name", enter in the name of your Shopify store as it shows up in shopify (be sure there are no blank spaces in the name! Usually dashes are needed in between words where there would normally be spaces.)

Click "Verify" in the upper right hand corner.
If SalesWarp successfully verifies the credentials, click "Connect" in the upper right hand corner. If verification was not successful, check the formatting of your store name to ensure it is correct.
Your Shopify store is now ready to be used in SalesWarp! Refer to the managing store preferences section, to begin modifying your stores options.
If you have any questions or require further assistance, please feel free to contact us at support@saleswarp.zendesk.com