Instead of having to create all your products manually in SalesWarp (or even importing them from a data file) you can sync products from any of your storefronts.
Note that when you sync products from a storefront into SalesWarp that to not already exist, there will be additional data to required to complete the items.
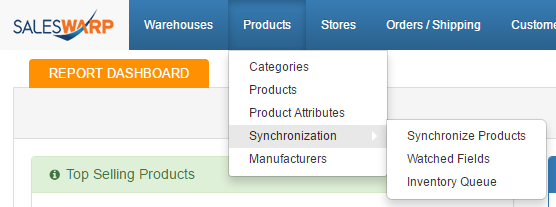
When you are ready to sync products from your storefront, access Products->Synchronize Products.
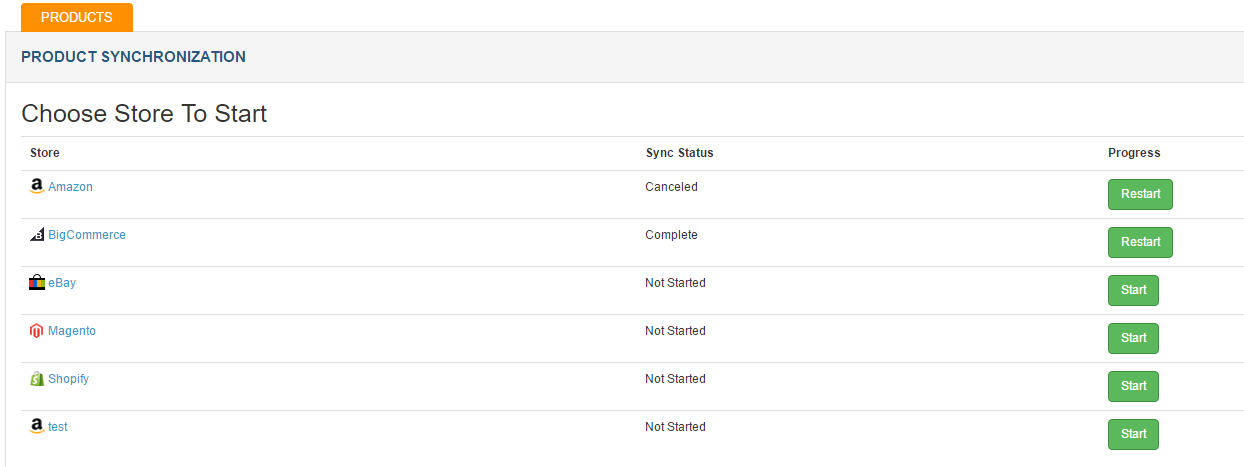
Click START next to the desired Storefront
Unless you know differently, Default attribute set is appropriate, make sure there IS a check in Auto Add new products, and if desired can make a date selection, and it will sync anything added to the storefront, including the date you select forward. When you have thousands of products, only want to sync items recently added, and the sync will run faster.
Go ahead and click start.
.png)
Depending on how many products you have, the syncing could take some time. In general, 10k items will take about an hour. Larger product catalogs will increase sync time accordingly. Note, also, that depending on the amount of data and other factors, storefronts may limit the bandwidth for import/export and sync operations. These limitations are not imposed by SalesWarp.
You can do other work in the SalesWarp system while the sync is processing. You can check on progress by accessing Products->Product Synchronization. This estimate is generally the worse case scenario.
.png)
Once sync is complete you will get the following screen with multiple tabs, with various results. Our sync had no errors. If you have any errors, let us know we can help you determine what issues might be occurring, and how to resolve them.
.png)
The Listings Matched tab shows how many SKUs on the Ebay store matched SKUs already in SalesWarp. These could have been imported into SalesWarp via a product import or previous sync. No action needs to be performed on these items, but you can export them if you with. Helpful to show when synced when if you have any questions in the future.
Synchronizing products from multiple storefronts:
If you are setting up SalesWarp for the first time, you may have multiple store fronts to sync with SalesWarp. If your product SKU's or available products vary from store front to store front, the following guide may be useful for your setup.
PREREQUISITES:
Follow this guide ONLY if:
•You have multiple storefronts
•Two or more of your store fronts have SKU's that differ from each other
•One or more of your storefronts has product SKU's that differ from the SKU of the same product in SalesWarp (only if you already have SKU's in SalesWarp)
1) Navigate to the synchronize products sub tab under the products tab to open the synchronization menu.
You should use the storefront that has the greatest amount of products for your initial sync. Click start next to the storefront you choose.
During this initial sync, choose "Auto add missing products" on the settings menu that will pop up and choose the date you want to sync your products from (this will sync the products that were available on your storefront from that date onward).
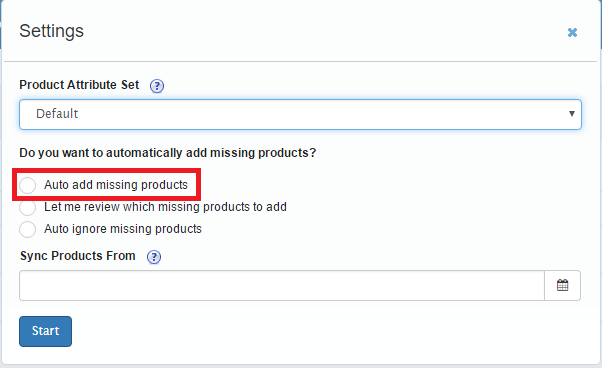
When your ready to start the sync, click start.
Once the sync is done, the SKU's from your store front will now show up and be linked in SalesWarp.
2) Next, choose another storefront you want to sync. Go ahead and follow the same steps as before, but select "Let me review which missing products to add".
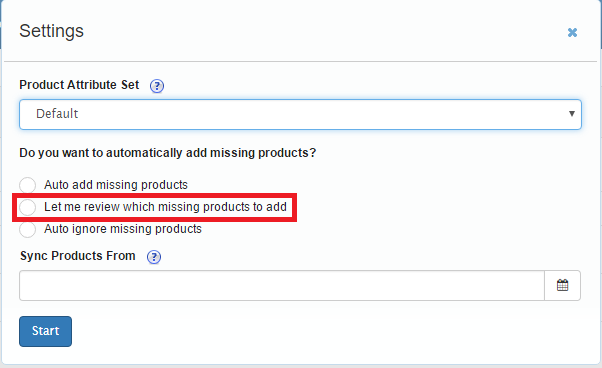
Click "Start" when ready to start.
Any SKU's that are different than the SKU's already in SalesWarp will show up in the listings not matched tab.

3) Click on the listings not matched tab and click on "Export".
This will export a CSV file that contains the SKU's from the storefront and a column to enter in the master SKU thats found in SalesWarp.
For each product in this file, enter in the SalesWarp SKU in the empty SKU column. This will link the store SKU from your storefront to the master SKU in SalesWarp.
Once you have matched all the SKU's in the CSV file, save it, and import it into SalesWarp via the import button on the listings not matched page.
Once done, click on the mark complete button in the upper right hand corner. Repeat steps 2-3 for each storefront you want to import.
If you have any questions or require further assistance, please feel free to contact us at support@saleswarp.zendesk.com