NOTE: Before you get started, we recommend you take a look at googles merchant center guide lines, product data specifications, and information on scheduled fetches. This will help you better understand googles requirements for using their merchant center and how their import system works.
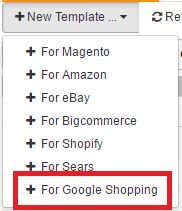
Begin by clicking on the new template button on the upper left hand side of the screen, and click on the "for google shopping" button on the sub menu that pops up.
You will be brought to the new google shopping feed template page.
.png)
Go ahead and give your template a name. You can also make the template specific to certain categories in SalesWarp by using the "Select Category" drop down menu. If you want the template to apply to all of your products, keep it as all categories.
If you want your google shopping feed to update itself regularly, check the check box next to "Auto update". If this is a one time update, make sure the auto update check box is unchecked.
Next click on the google shopping fields tab on the right side of the page.
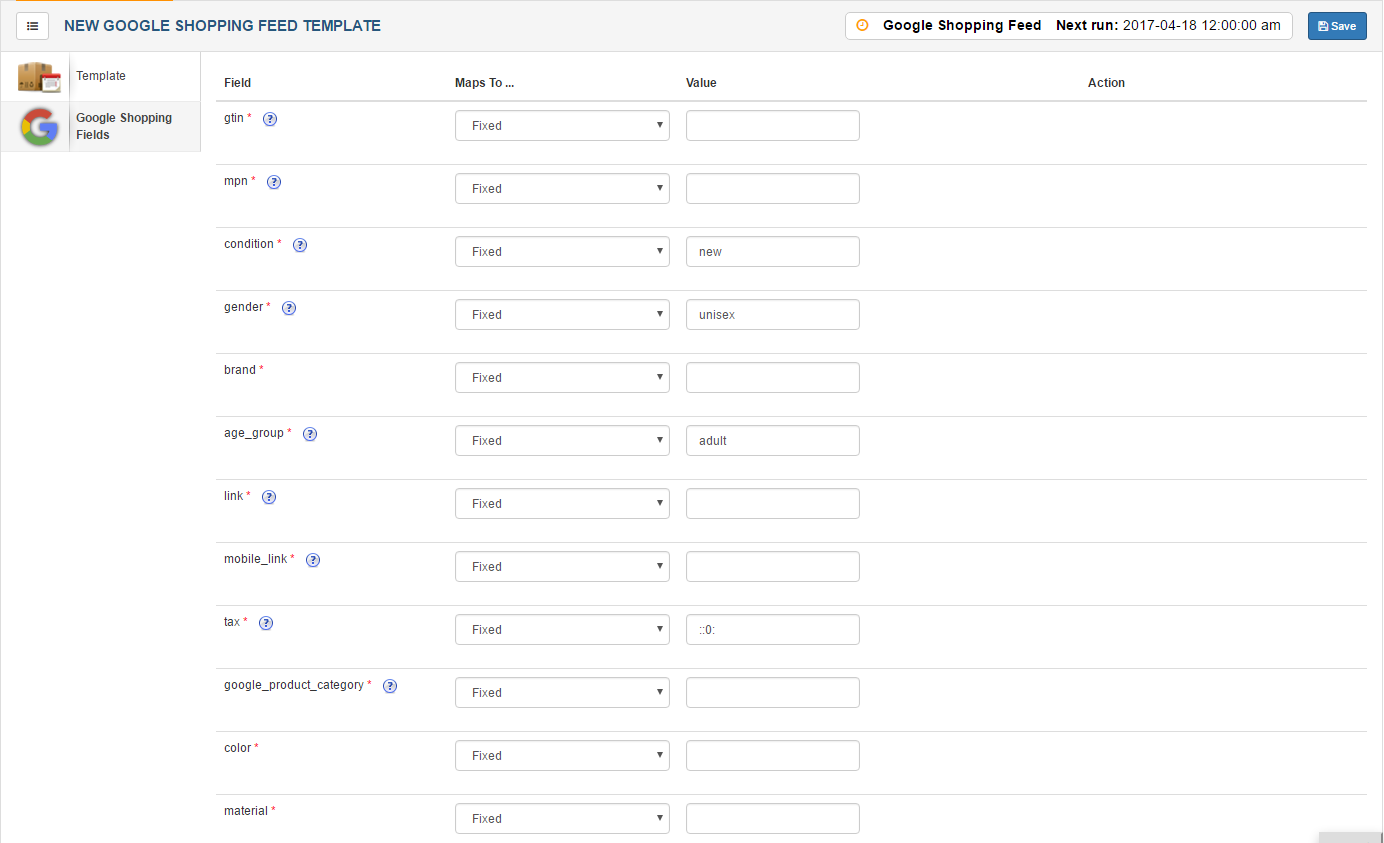
Much of the product data that google requires will be automatically added by SalesWarp, however there is some data that will need to be specified in SalesWarp. That data will show up on the google shopping page.
For each field that shows up here, you can choose to either map to a fixed value that you define, or map to a product attribute field in SalesWarp.
.png)
The ![]() symbols next to each field will give you an insight on what data the field requires, however, if you would like a more indepth explanation on the fields, you can check out googles product data specification page. That page will outline each attribute more indepth. It will also detail some optional attributes that are not required but could be useful to you. If you want to add an optional field into your feed template, click on the "add field" button on the bottom of the page.
symbols next to each field will give you an insight on what data the field requires, however, if you would like a more indepth explanation on the fields, you can check out googles product data specification page. That page will outline each attribute more indepth. It will also detail some optional attributes that are not required but could be useful to you. If you want to add an optional field into your feed template, click on the "add field" button on the bottom of the page.
.png)
When you are done, click save in the upper right hand corner of the page.
Your template should now show up in the list of feed templates.

Now, click the gear icons in the same row as your google feed template. This will start the template generating in SalesWarp. In most cases, your template generation will not start immediately, rather, it will be placed in a queue. It may take some time for the template to generate so feel free to grab a coffee while it works!
Once the file has finished generating, it will show a link where the file is located.
Now, navigate to your the google merchant center web page and sign in.
Select the Feeds tab and click + FEED.
Select the target country, enter a feed name, and click Submit.
Select the Scheduled fetches radio button.
Enter the feed template URL that was generated in SalesWarp in the file URL text box.
If you chose to have the feed template auto update in SalesWarp, the feed template will be updated everyday at 12 AM UTC (7 PM ET), so the fetch time in your google merchant center should be set to anytime after that.
With that, your google feed template in SalesWarp is setup with your google merchant center!
If you have any questions or require further assistance, please feel free to contact us at support@saleswarp.zendesk.com