What you need to know before importing product location barcodes:
The location barcode format consists of six segments of one to three characters. The first segment is a prefix, and for consistency's sake, we recommend "$%". All locations in your SalesWarp system must begin with the same prefix. The simplest location would therefore be: $%1.1.1.1.1. You can use the segments to define warehouse zones, aisles, racks, shelves, bins, etc.
Also, as mentioned in the Product Import document, if you are importing your products via CSV, it may very well have been easiest to include the locations in the product file when exporting from legacy system, or in building the CSV file. You can use the same file for locations that you used for importing products with minor alterations. Our suggestion is to copy off the product file into a new excel workbook first, to keep your original product file intact. Sort by TYPE and delete rows with a type of Configurable. If you stock built kits in warehouse locations, leave those rows, however, if you are just picking individual SKUs from locations to "build" kits when picking/packing, delete the kit rows as well.
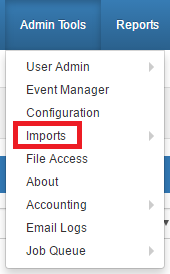
To begin, go to Admin tools -> Imports.
On the Import type menu, select the "Product locations" tile. Under the file section, click on the choose file button and choose the .CSV file that you want to upload. If you need a template to use your your product location file, you can click download in the download sample box.
.png)
Choose your mode and the warehouse (usually the default warehouse). Click next when youre done.
|
Mode:
•Create and Update - will update any changes from the file for existing items, will add any new items from the file to the product database. •Create Only - will ignore any existing products in the file. •Update Only - will ignore any new products in the file. |
You will now need to create a new mapping for the CSV file.
NOTE: SalesWarp does not currently support the automatic mapping of fields. The data under the "Map fields automatically" will always have an x under field found.
Click on the create new mapping tab and fill in the required fields with their equivalent fields in the CSV file.
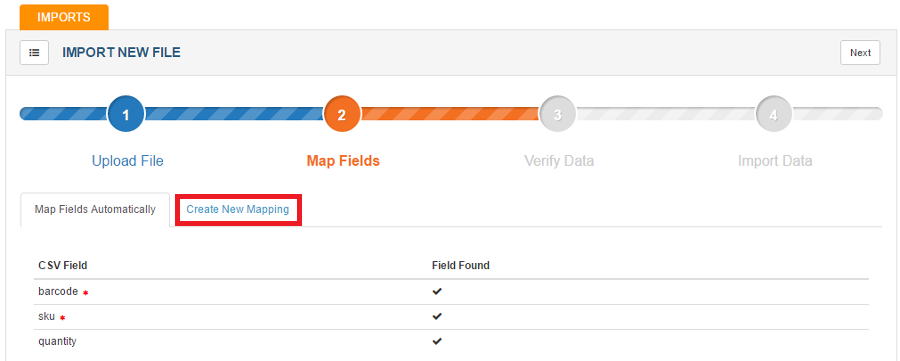
Click next when done.
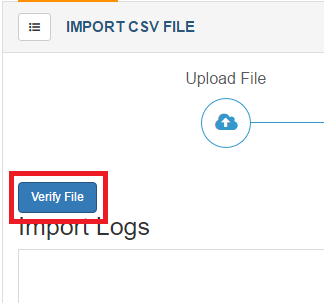
SalesWarp will now have to verify the data, and begin importing the data into SalesWarp. To get this process started, click the verify button in the upper right hand corner of the screen. If there are any issues with the data you will be alerted to the issues, and will need to fix them before importing can occur.
If everything is correct, click next in the upper right hand corner to begin the import. Your file will more than likely be put into a queue to be imported at a later time. You can view your imports status by clicking on the queue tab in the upper right hand corner.
![]()
Youre now done the import process!
If you have any questions or require further assistance, please feel free to contact us at support@saleswarp.zendesk.com