What you need to know before importing customers.
There is nothing special you need to know (or do) to import customers. The format is simple, as detailed below. Include as much info as is available for your import and you won't have to edit/tweak the customer data later. SalesWarp does not actually recommend importing customers, but the option is there if you choose to tackle it yourself.
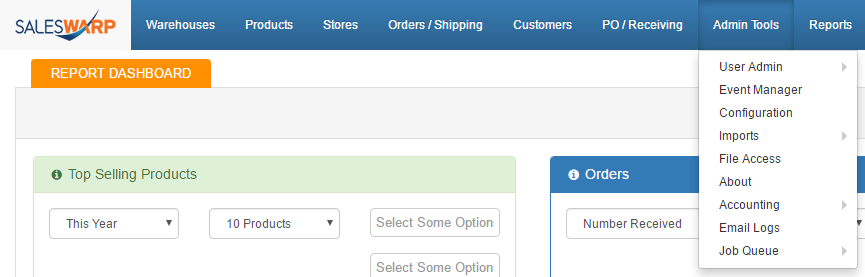
Go to Admin Tools-> Imports, and click directly on Imports
Step 1: Generate sample file, build import file, select settings for import.
On the right side of the figure below, you will see options to download a sample file, and whether to include sample data. You can use this to determine what fields to include in your import file. Further below, you will see the required fields - fields which must contain valid data for your import to succeed. Review the sample data, build your import file, and continue below.
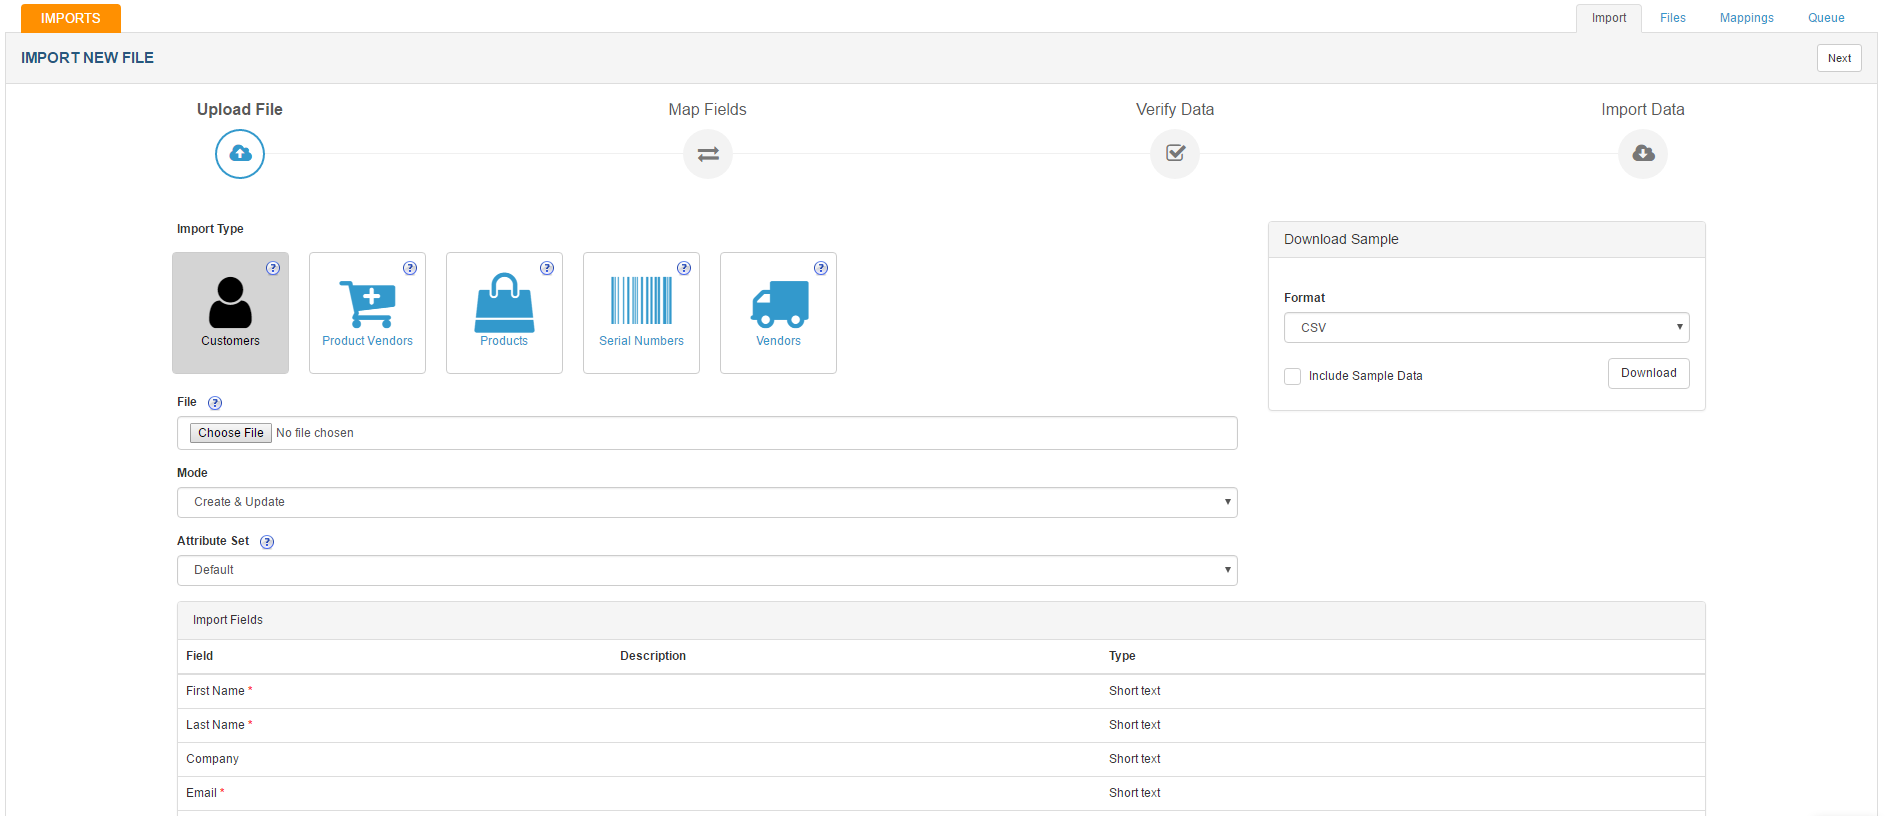
Type: Choose “Customers”
File: Choose CSV file – see attached field definitions for file format. Note that the fields in the CSV file are NOT required to be in any specific order. For changing addresses on existing customers it is best to do that manually through the user interface. Note that your customer information will be added automatically when orders come in, which is why we tend to steer away from importing customers.
Mode:
Option 1. Create and Update – will update any changes from the file for existing items, will add any new items from the file to the product database.
Option 2. Create Only – will ignore any existing products in the file.
Option 3. Update Only – will ignore any new products in the file.
Attribute set: select default unless you have been instructed otherwise.
Once all file import settings have been chosen, click NEXT (upper right hand corner)
Step 2: Create a Customer Import Mapping
.png)
Choose "Create New Mapping" and click "Next"
Cycle through all tabs and select fields to map into the system. Be sure to go through all tabs, and doubly sure that you've mapped all required fields, they will be marked with asterisks here as well. When all fields are mapped, click “Next” in upper right hand corner.
Step 3. Verify and Process the Import File
Click "Verify File" and the system will read the file data, and you may be alerted to any specific issues in the file format that need to be corrected prior to importing. If there are no issues with the file, you may be given an option to process the file immediately, but more likely you will be required to queue the file to process later. (Process now functionality is based on the file size - If you have more than a few customers, your file will probably not pass the size check.)
Note that if you need to alter the file, you will have to start the import process again. If you are able to import now, you'll see a processing status on the screen. If you have selected Process Now, do not leave this screen until processing is complete. It should really take no more than five minutes to process a file that was able to be "processed now".
Otherwise, choose "Import Later" to add the file to the queue. If you want to monitor the queue, press the queue button on the far right - you will be able to see if the file has begun or finished processing. Note you may need to hit the refresh button on your browser, and if a file has queued, you can leave the application, or move to other screens to work in other areas while the queue is processing. The queue processing time will vary based on size of the file.
If you have any questions or require further assistance, please feel free to contact us at support@saleswarp.zendesk.com